Deploying elm-pages to S3 Static Hosting
2019 · 11 · 02

This post shows how to deploy an elm-pages application to
AWS S3 static website hosting.
Most of the information in this post will apply to any static site, but I am
fond of elm-pages. Here is what Chrome’s Lighthouse audit tool thinks of this
page.
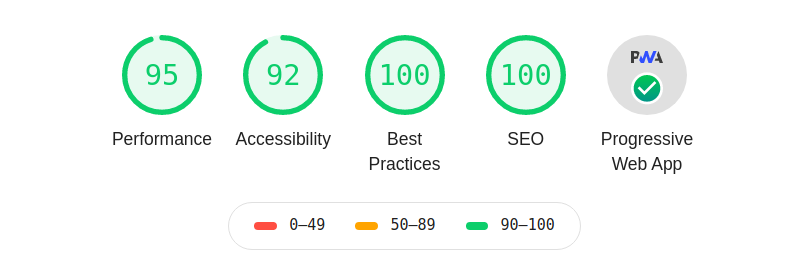
I highly recommend elm-pages for making fast, accessible static sites. It does for elm what Gatsby has done for React.
Create an S3 Bucket
I will assume that you have an elm-pages project and that you have an AWS
account. If you are looking for a starting point with elm-pages, check out elm-pages-starter or the
source code for this blog at elm-pages-blog.
In the AWS management console, find the S3 service and create a bucket.
Pick out a bucket name. S3 buckets exist in a global namespace, and you might need to get creative with your naming. Bucket names must conform to the format described in Rules for Bucket Naming.
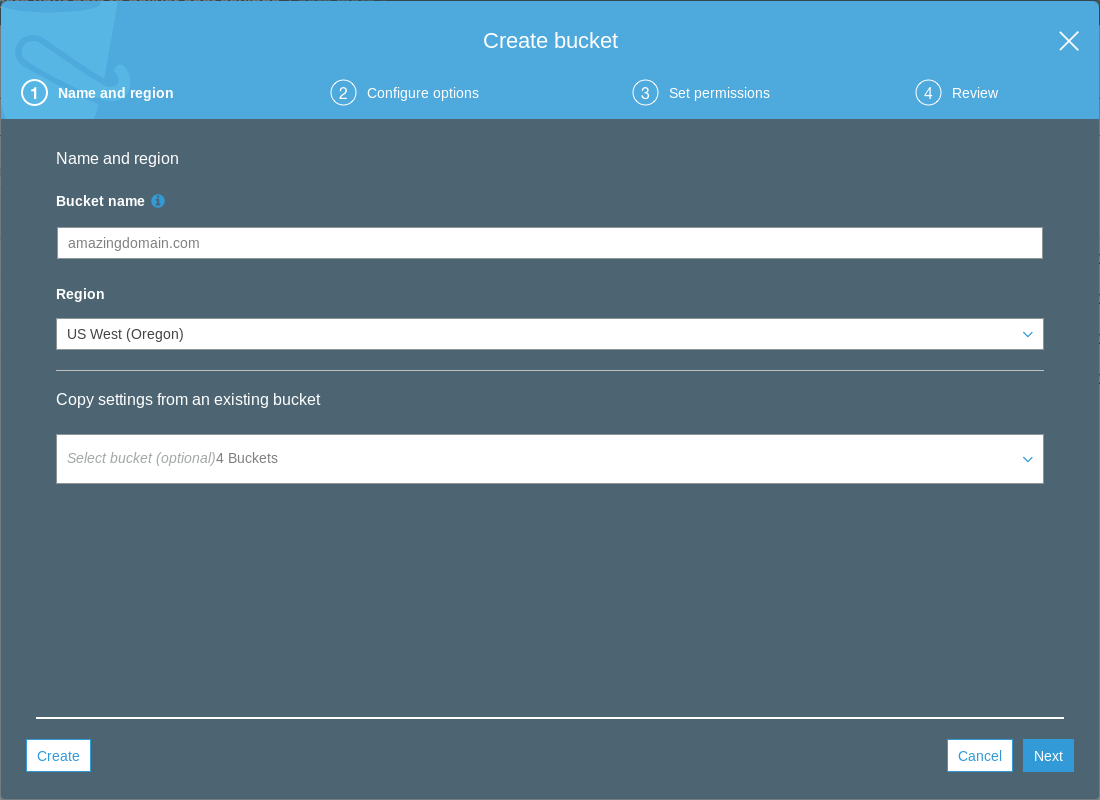
Once you have selected a name, choose a region and skip forward to the Set Permissions step.
To host a static site that will be available to the world, we need to set public permissions. Uncheck the “Block all public access” checkbox.
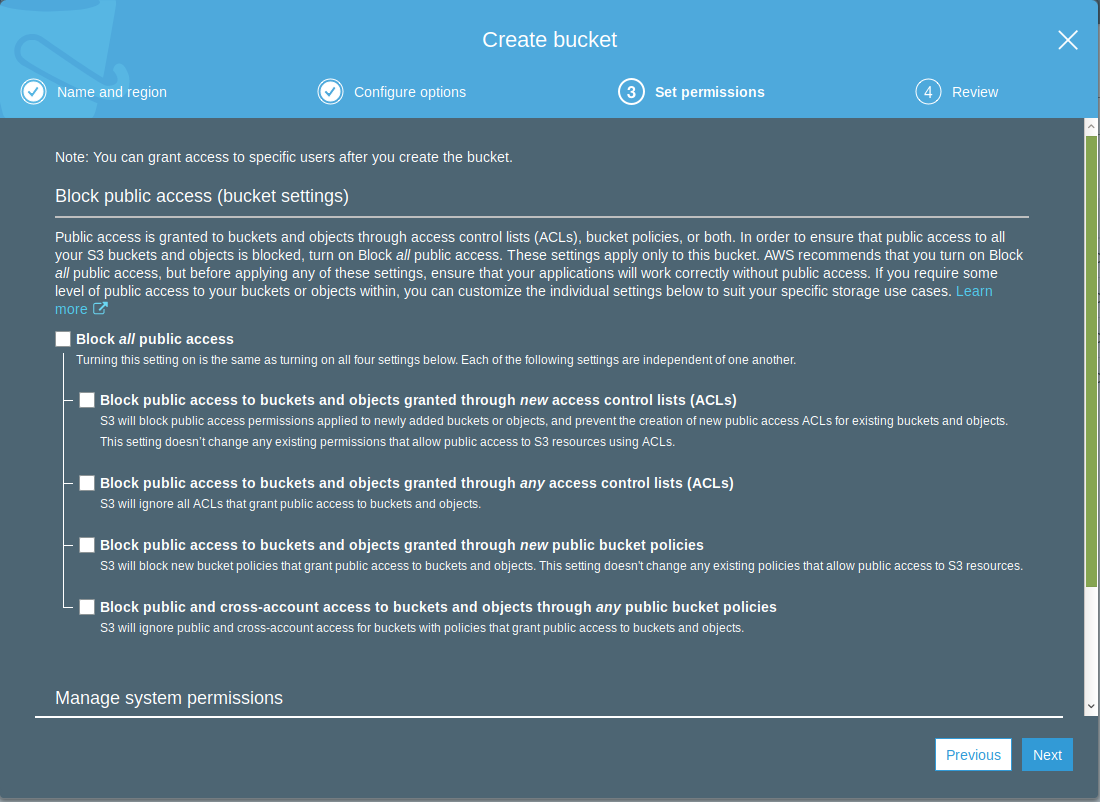
Review your options in the last step, and create the bucket.
Upload Your Blog
Build your elm-pages project.
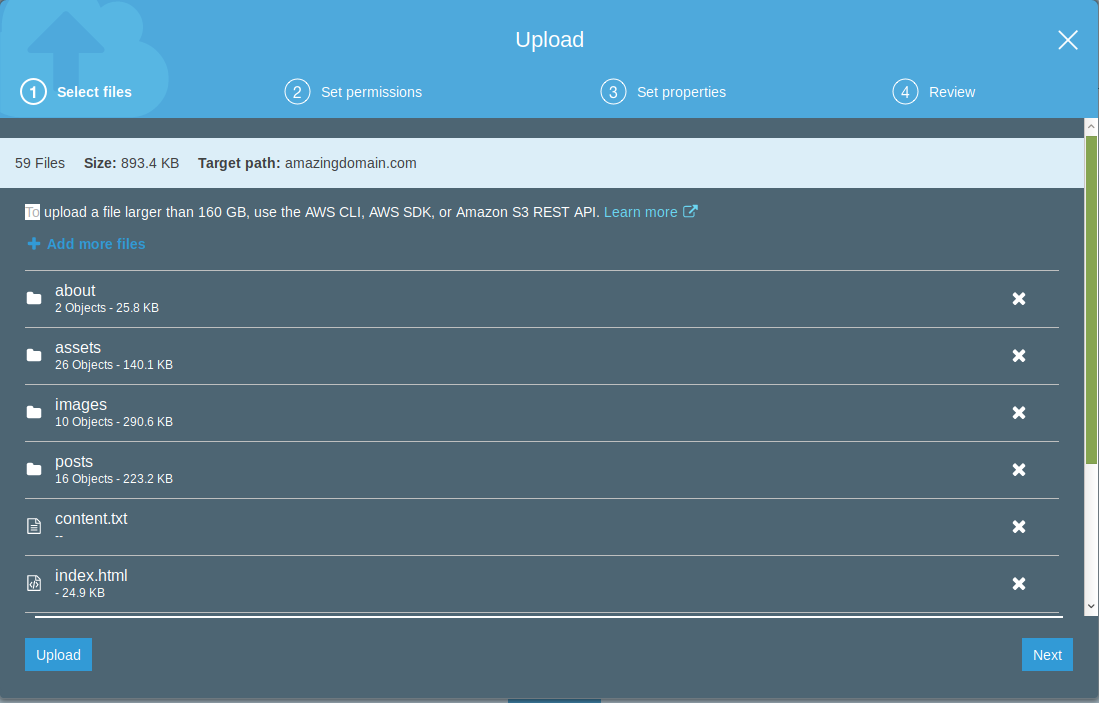
Find the bucket you created in the list of buckets, and upload all of the files
from the dist/ directory of your project.
Enable Static Website Hosting
Find the “Static website hosting” card in the Properties tab.
Select “Use this bucket to host a website” and enter index.html for the index
and error documents.

We use index.html in both fields so that elm-pages can serve our content and
handle errors such as missing pages.
The endpoint is the URL where the site will be served. In the next post, I will show how to set up a custom domain name.
Add a Bucket Policy
Our bucket is ready to serve static content and we have stated our intent to go public, but we still need to be explicit about what we mean by “public”.
We do this by adding a bucket policy in the Permissions tab. Copy this resource
policy and replace amazingdomain.com with the name of your bucket.
{
  "Version": "2012-10-17",
  "Statement": [
    {
      "Sid": "PublicReadGetObject",
      "Effect": "Allow",
      "Principal": "*",
      "Action": "s3:GetObject",
      "Resource": "arn:aws:s3:::amazingdomain.com/*"
    }
  ]
}
This policy allows anyone to make a GET request for any object in the bucket.
Resource policies allow or deny a principal some action on a resource. The
wildcard principal in our policy means anyone. The s3:GetObject action
corresponds to a GET request on an S3 bucket. The wildcard after the Amazon
Resource Name (arn) means any object in the bucket.
The “Version” in the policy refers to the policy language version, not the version of what you wrote in the policy. It needs to be there, and you can leave it as is.
Visit your Blog
Open the Static website hosting endpoint and your elm-pages blog should be
live!